动效小结

接上一篇文章,最近ui优化做的比较多,动效优化也是其中一部分。

动效的几种使用方式也都尝试过了,所以吧,做个小结记录一下~

使用方式

  • 手写动效
    • css 写法
    • vue 写法
  • 第三方动效库
    • animejs
    • lottie

手写动效

手写动效,使用 css 来描述样式,适用于较简单的动效

css 写法

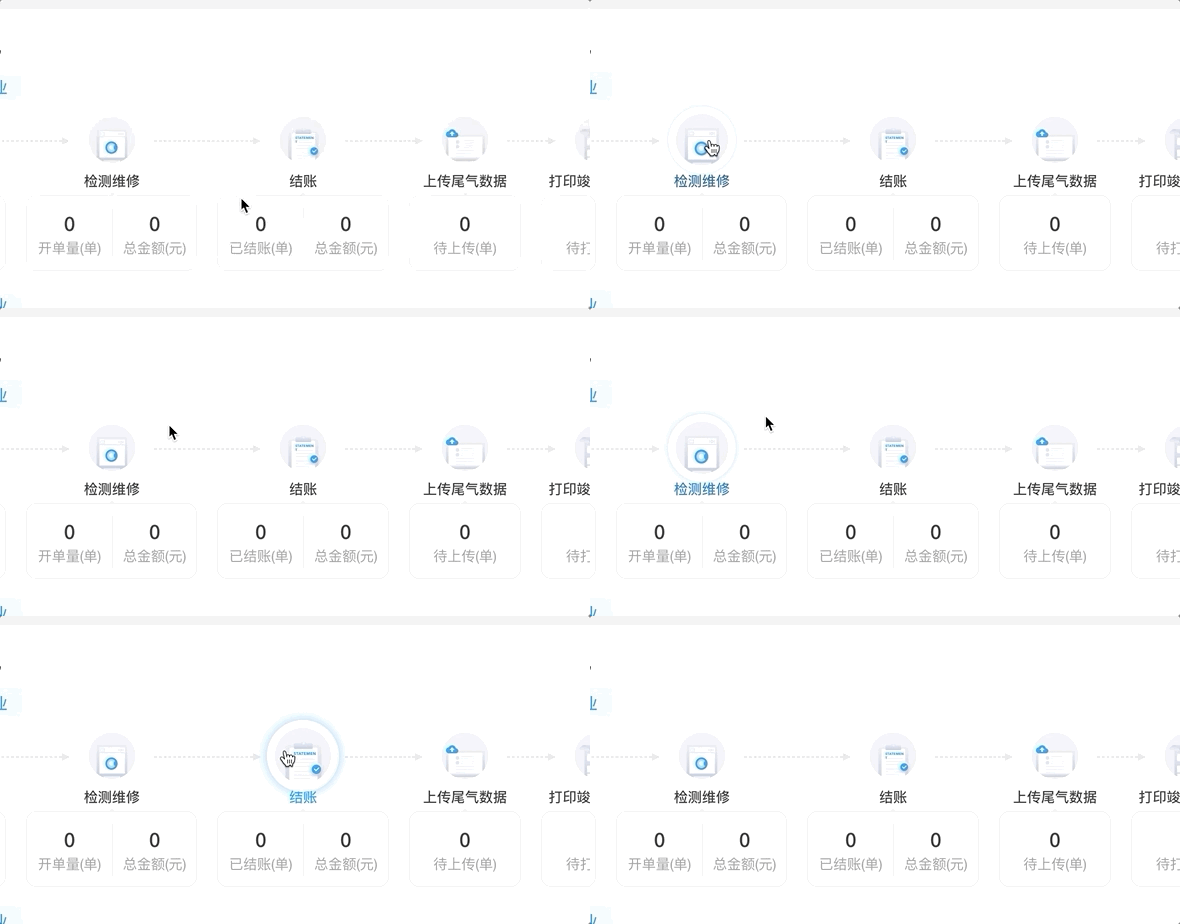
  • 制定父元素的 transition 属性后,子元素的 showhide 都会有动效,如果只在子元素里写 transition (比如hover),则只在 show 的时候有动效
  • transition :要显示的动效类型,时间,持续显示方式 – all/transform/等1000ms/sease/ease-in-out/linear/等
  • 具体样式:包括 opacitytranslatescalerotate 等。

Demo

相关代码

1
2
3
4
<div class="title" @click="clickIcon">
<div class="bg" :style="bgStyles"></div>
<span class="sp">{{title}}</span>
</div>
1
2
3
4
5
6
7
8
9
10
11
12
13
14
15
16
17
18
19
20
21
22
.title {
text-align: center;
font-weight: 500;
.bg {
width: @bg-r;
height: @bg-r;
margin: 0 auto;
cursor: pointer;
border-radius: 100%;
transition: all 0.5s ease;
&+.sp {
transition: all 0.3s ease-in-out;
}
&:hover {
box-shadow: 0 0 10px 0 rgba(0, 154, 255, 0.5);
transform: scale(1.2);
&+.sp {
color: #009AFF;
}
}
}
}

Vue 写法

和传统的 css 写法不同,Vue 写法多了一个 transitiontransition-group 的写法

  • 使用 name='x' + x-YYYY 的写法来描述动效过程
  • 只有在组件切换的时候才会触发动效
    • v-if
    • v-show
    • 动态组件
    • 组件根节点
  • 动效过程
    • x-enter: 动效开始前(vue3 改为 x-enter-from)
    • x-enter-active: show 动效结束前
    • x-leave-active: hide 动效开始前
    • x-leave-to: 动效结束后
    • 搭配手写的 css 动效,可以实现更多效果
  • transition-group
    • 必须是多个子元素,每个子元素包含唯一的 key
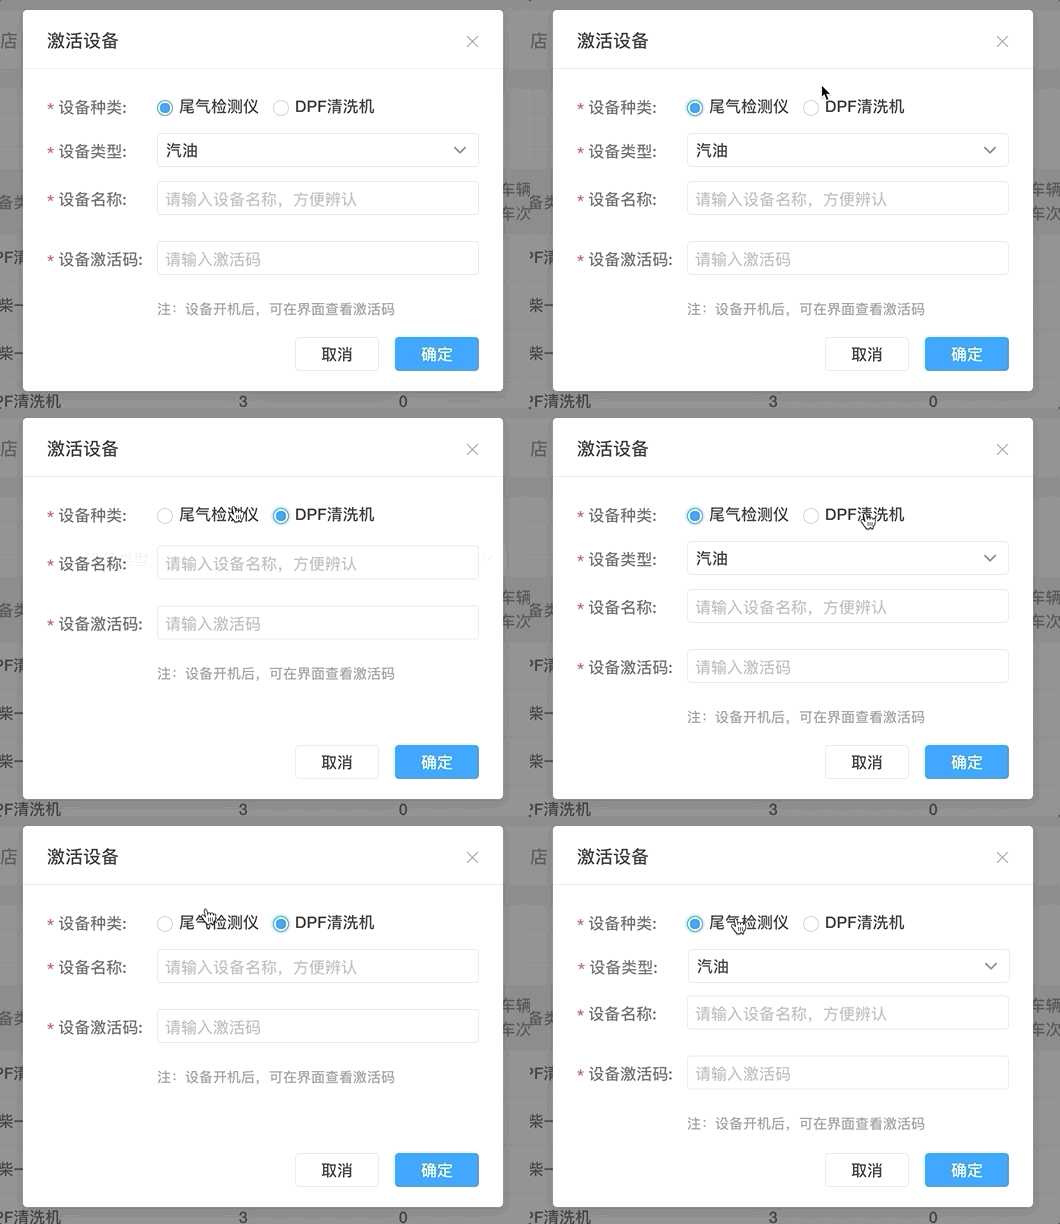
    • 子元素 show/hide 切换是无动效的,为了添加平滑动效,可以使用 x-move

Demo

相关代码

1
2
3
4
5
6
7
8
9
10
11
12
13
14
15
16
17
18
<transition-group name="g" tag="ul">
<li key="1">...</li>
<li v-if="deviceData.type === '1'" class="formItem-height-12 l" key="2">
<FormItem prop="model" label="设备类型" :required="true">
<Select v-model="deviceData.model">
<Option
v-for="(item, index) in deviceType"
:key="index"
:value="item.key"
>{{item.name}}
</Option>
</Select>
</FormItem>
</li>
<li key="3">...</li>
<li key="4">...</li>
<li key="5">...</li>
</transition-group>
1
2
3
4
5
6
7
8
9
10
11
12
13
14
15
16
17
// 其他li位置移动时,动效平滑
.g-move {
transition: transform 1s;
}
// 设备类型 show/hide 动效变化方式
.g-enter-active, .g-leave-active {
position: absolute;
width: 432px;
}
.g-enter, .g-leave-to {
opacity: 0;
transform: translateX(30px);
}
// 设备类型 动效平滑
.l {
transition: all 1s;
}

第三方动效库

第三方库动效,通过 js 来调用,适用于较复杂的动效

本次优化中使用到的第三方库有 animejslottie

animejs

Demo

相关代码

1
2
3
4
5
<div class="login">
<div class="login-top">...</div>
<div ref="lott" class="lottie"></div>
<div class="user">...</div>
</div>
1
2
3
4
5
6
7
8
9
10
11
12
13
14
15
16
17
18
19
20
21
22
23
24
25
26
27
28
29
30
31
32
33
34
35
36
37
38
39
40
<script>
import anime from 'animejs/lib/anime.es'

export default {
mounted () {
// 必须在mounted Dom渲染后
setTimeout(() => this.initAnime(), 250)
},
methods: {
initAnime () {
anime.timeline({loop: false})
.add({
targets: '.logo-img, .logo-vertical',
opacity: [0, 1],
translateY: ['20px', 0],
duration: 1000,
easing: 'easeOutCubic'
}, 0)
.add({
targets: '.user',
opacity: [0, 1],
translateY: ['-34%', '-44%'],
duration: 1000,
easing: 'easeOutCubic'
}, 0)
.add({
targets: '.system-name .zh-cn, .system-name .en-us',
translateY: ['20px', 0],
opacity: [0, 1],
duration: 1000,
easing: 'easeOutCubic'
}, 0)
.add({
targets: '.lottie',
opacity: 1
})
}
}
}
</script>

lottie

lottie 是一种跨平台的动效方案。ui小姐姐设计好动效后,利用插件导出 json,然后使用不同平台的 lottie + 同一份 json 文件,即可实现不同平台下的相同动效,极大的降低了动效开发的成本。

Demo

相关代码

1
<div ref="lott" class="lottie"></div>
1
2
3
4
5
6
7
8
9
10
11
12
13
import lottie from 'lottie-web'
import loJson from '../../static/images/login/login-lottie3.json'

initLottie () {
this.anim = lottie.loadAnimation({
container: this.$refs.lott,
renderer: 'svg',
loop: true,
autoPlay: true,
animationData: loJson
})
this.$emit('animCreated', this.anim)
}

其他资料

前端动效库汇总

分享到:
11