因为公司的需要,网站需要接入网关,对域名有校验
于是研究了一下 nginx 和 代理
发现还挺好玩的。。
然后,
就总结了一下这份
nginx-1 !
简介
nginx 的功能太多,简单来说就是可以配置相应的服务器。
可以配置包括但不限于:
安装
mac 安装 nginx 很简单,先安装 homebrew ,然后安装 nginx
安装 homebrew
1 | ruby -e "$(curl -fsSL https://raw.githubusercontent.com/Homebrew/install/master/install)" |
出现以下 log 表示安装完成了
1 | Installation successful! |
可以使用以下命令查看 homebrew 的版本
1 | brew -v |
常用的 brew 命令
- brew 搜索软件 :
brew search nginx - brew 安装软件 :
brew install nginx - brew 卸载软件 :
brew uninstall nginx - brew 升级 :
sudo brew update - brew 查看安装信息 :
sudo brew info nginx - brew 查看已安装软件 :
brew list
安装 nginx
安装 nginx
1 | sudo brew install nginx |
启动 nginx 服务
1 | sudo brew services start nginx |
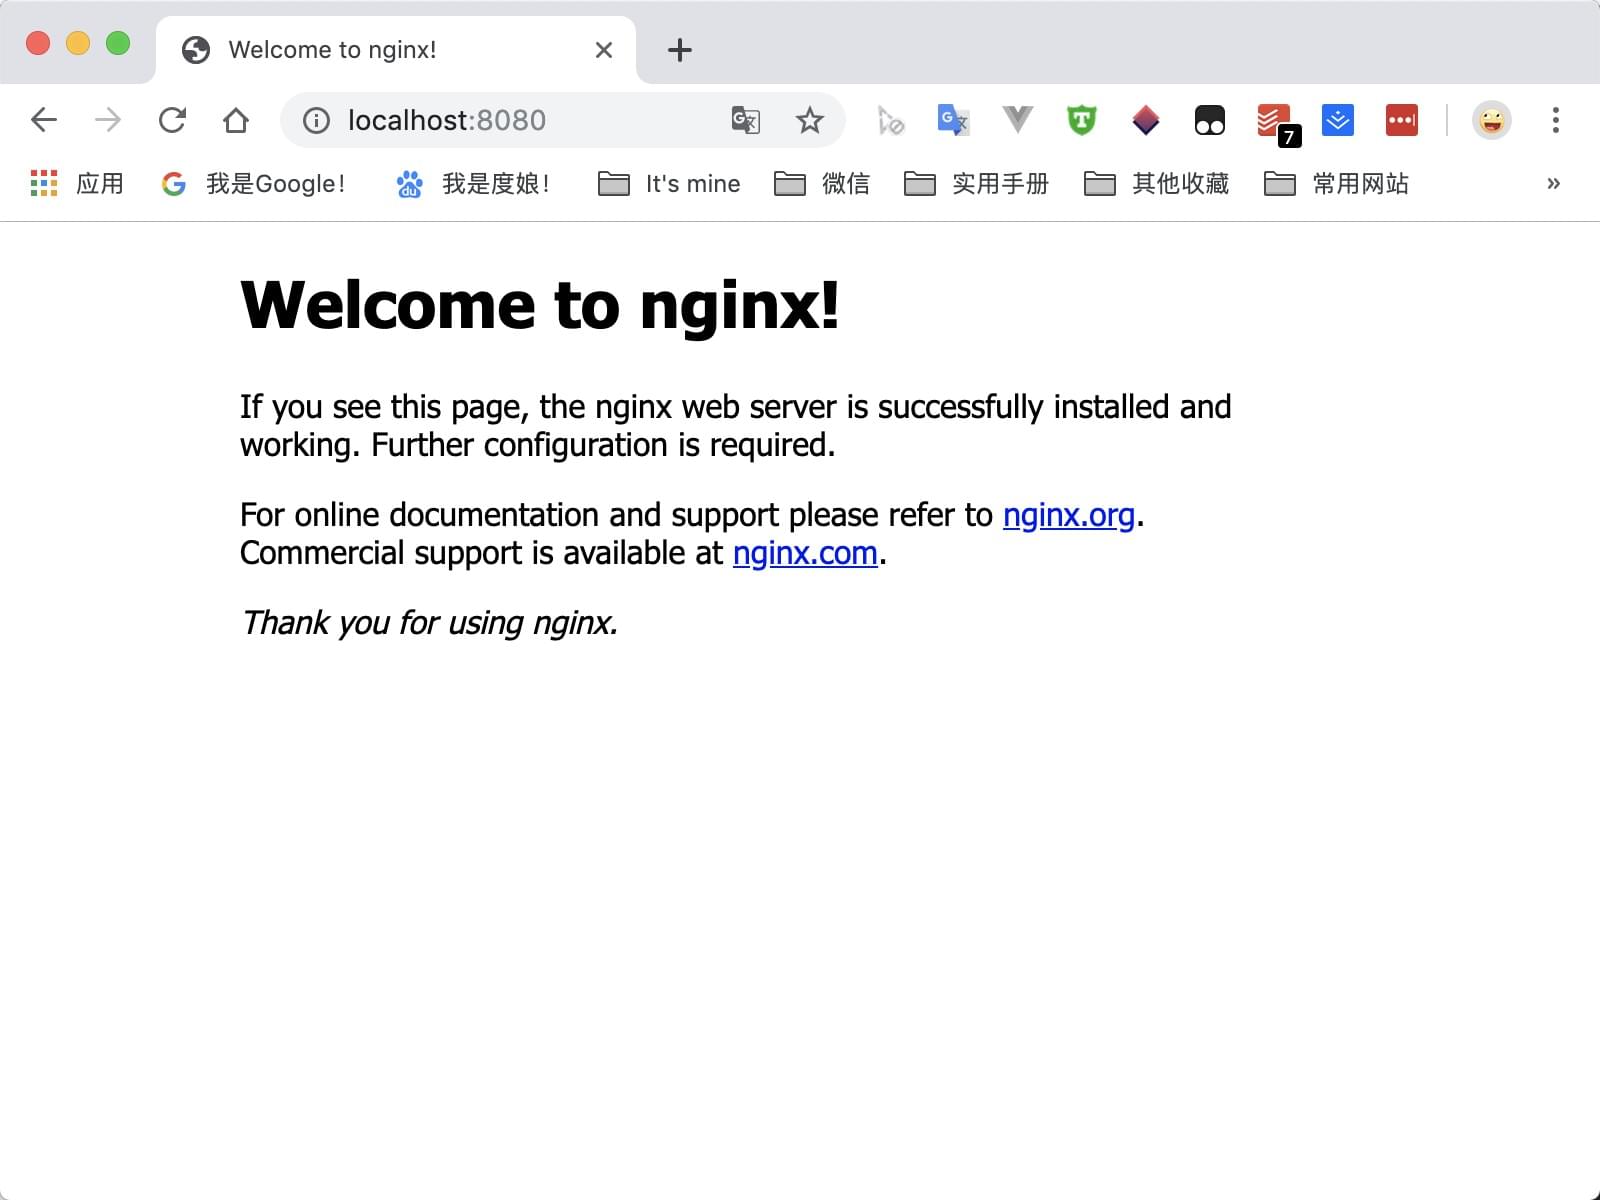
利用 http://localhost:8080 进行访问,如果出现如下页面,说明 nginx 启动成功

相关 文件地址
- host :
/private/etc/hosts - nginx :
- 文件配置路径:
/usr/local/etc/nginx/nginx.conf - 服务器默认路径:
usr/local/var/www - 安装路径:
/usr/local/Caller/nginx/1.17.1
- 文件配置路径:
常用的 nginx 命令
在任意路径下执行都可以! 🤪
- 启动:
nginx/nginx -c /usr/local/etc/nginx/nginx.conf - 更新配置文件后重启:
nginx -s reload - 校验配置文件:
nginx -t - 停止:
- 快速停止:
nginx -s stop - 正常停止(执行完当前队列):
nginx -s quit
- 快速停止:
- 查看是否启动
nginx:ps -ef|grep nginx:查看是否有master的进程- 记住 第二列 的
pid号 xxx,可以用来 杀进程
- 停止(杀掉进程):
- 快速停止(立刻):
kill -TERM xxx - 正常停止:
kill -QUIT xxx - 和上面一样:
kill -INT xxx
- 快速停止(立刻):
作用
这里主要说下,在公司用到的,代理
代理
需求
公司的后端接入了网关,对域名有校验,只有符合规则的域名才能调用网关
于是,本地开发的时候,如果用 http://localhost:3001 去调开发环境的后端,会失败,因为通过不了网关
所以,需要做一个代理,代理 xxx.ym 域名,当调用 / 的时候调本地的前端,当调用 /api 的时候调服务器上的后端,这样就能和开发环境的后端连调了
步骤
上面说了需求,那如果要实现这样效果,我们要执行以下几个步骤:
- 配置
host文件 - 配置
nginx.conf文件 - 启动
nginx - 启动
前端开发环境 - 使用
http://xxx.ym地址进行测试
配置 host 文件
1 | # host 文件 |
配置 nginx.conf 文件
1 | # nginx.conf 文件 |
启动或重启 nginx
1 | // 启动 |
启动前端环境
1 | cd /xxxx |
打开网站
在浏览器输入 http://xxx.ym 打开就可以啦
搭配 host 文件
搭配 host 文件,可以在本地 打开任意域名,跳转到任意想跳转的地址,包括但不限于跳转到 https://www.google.com,https://www.baidu.com,http://localhost:4000 等任意地址。
我们可以这样理解:
多个
server块才会匹配server_name,1个话不匹配直接使用nginx是服务器上用的,所以想像成服务器的话,1个服务器有1个ip,但是可以有多个 域名 解析成这个ip,所以当不同的域名访问这个服务器的时候,怎么区分不同的域名呢?,于是,server_name这个字段就出现了,它可以使用 正则和通配符 来匹配域名,决定 哪个域名使用那个 server块,进而使用相应的配置。端口 相当于二次校验。然后可以使用
location / + prox_pass进行代理通过配合
host文件使用,host文件可以将指定域名映射到指定ip,比如可以把任意网站xxx映射到127.0.0.1,我们可以搭配nginx的server块的端口号,然后进行代理,代理到任意 ip上举个🌰,下面的配置可以把
longge666.huiwan映射成本地的http://localhost:4000:1
2
3# host 文件
# .com域名 chrome会自动转换成 https,跳转不了
127.0.0.1 longge666.huiwan1
2
3
4
5
6
7
8
9
10
11
12
13
14
15# nginx.conf 文件
server {
listen 80;
server_name longge666.huiwan;
location / {
proxy_pass http://localhost:4000;
}
error_page 500 502 503 504 /50x.html;
location = /50x.html {
root html;
}
}效果如下:

其他
对 nginx 的理解暂时就这么多
后面有了新的理解再继续补充~ 😋